


If you want a flatter abdomen, more power when lifting and playing sports, and a reduced risk of back pain and injury, you've come to the right place! We've compiled a list of the best exercises to strengthen your core and take your workouts to the next level.
What is the core?
The core wraps around your torso from the pelvis to the rib cage. The muscles here include:
- Multifidus, a muscle that supports your spine
- Rectus abdominis, which makes up the abs
- Internal and external obliques, which run along the sides of your torso and assist with rotational and anti-rotational movements
- The transversus abdominis, which wraps around the front and side of the torso and helps stabilise the pelvis. This is the deepest layer of muscle in your abdomen.
- The latissimus dorsi, which run up the sides of your spine from the pelvis to the shoulder blades.
- And the erector spinae, which extends the trunk and keeps you upright.
Your hips and glutes also contribute to core strength and stability, albeit to a lesser degree.
Strengthening these muscles will help prevent spine injury, coordinate movement between the upper and lower body, and provide power during nearly every exercise, from running to rows.
How to engage the core
To effectively strengthen the core muscles, you first need to know how to engage them.
- Visualise the muscles in your core and take a deep breath.
- Tighten all those muscles as though bracing for a punch. In the mirror, your stomach will look rounded instead of sucked in. It may be helpful to visualise bringing your navel up and toward the spine.
- BREATHE. Keep your core nice and tight, and breathe with your ribs. It may take practice not to loosen the core.
The best core workout
You’ll need to do core work 2-3 times a week to see good results. Each session, pick out 3 exercises from the list below and complete 3-4 sets of each - a set could consist of 40-60 seconds of work or 10-15 repetitions, depending on the exercise.
Plank With Hip Extension
- Lay on your belly on an exercise mat.
- Prop yourself up on your elbows, ensuring the elbows are directly under your shoulders and your hands are in a neutral position, shoulder width apart.
- Activate your core, lift your hips off the floor, and flex your toes so you’re standing on the balls of your feet. Your body should be in a straight line from the feet to the head.
- Tuck your pelvis in to help keep your spine nice and neutral throughout the plank hold.
- With your knees straight, alternately lift a foot off the floor until the leg becomes parallel to or slightly above parallel with the floor. Hold briefly at the top of each movement.
- Do not lift your leg so high as to make your back sag or hips twist.
- Perform all movements in a controlled fashion. Relax and repeat as your ability allows.
Stability Ball Planks
- Begin this exercise kneeling in front of a stability ball.
- Place both forearms on the ball, then lift the hips and knees. As with a regular plank, your core should be active, your pelvis tucked, and your body in a straight line from your ankles to shoulders.
Bird Dog
- Kneel on an exercise mat with your knees hip-width apart and hands firmly on the ground, about shoulder-width apart.
- Point one arm out straight in front and extend the opposite leg behind you, forming a straight line from your extended hand to your extended foot. Keep your hips squared to the ground. If your lower back begins to sag, raise your leg as high as possible while keeping the back straight.
- Hold for a few seconds, then return to the starting position. Work to minimise extra motion in your hips during the weight shift.
- Switch to the other side.
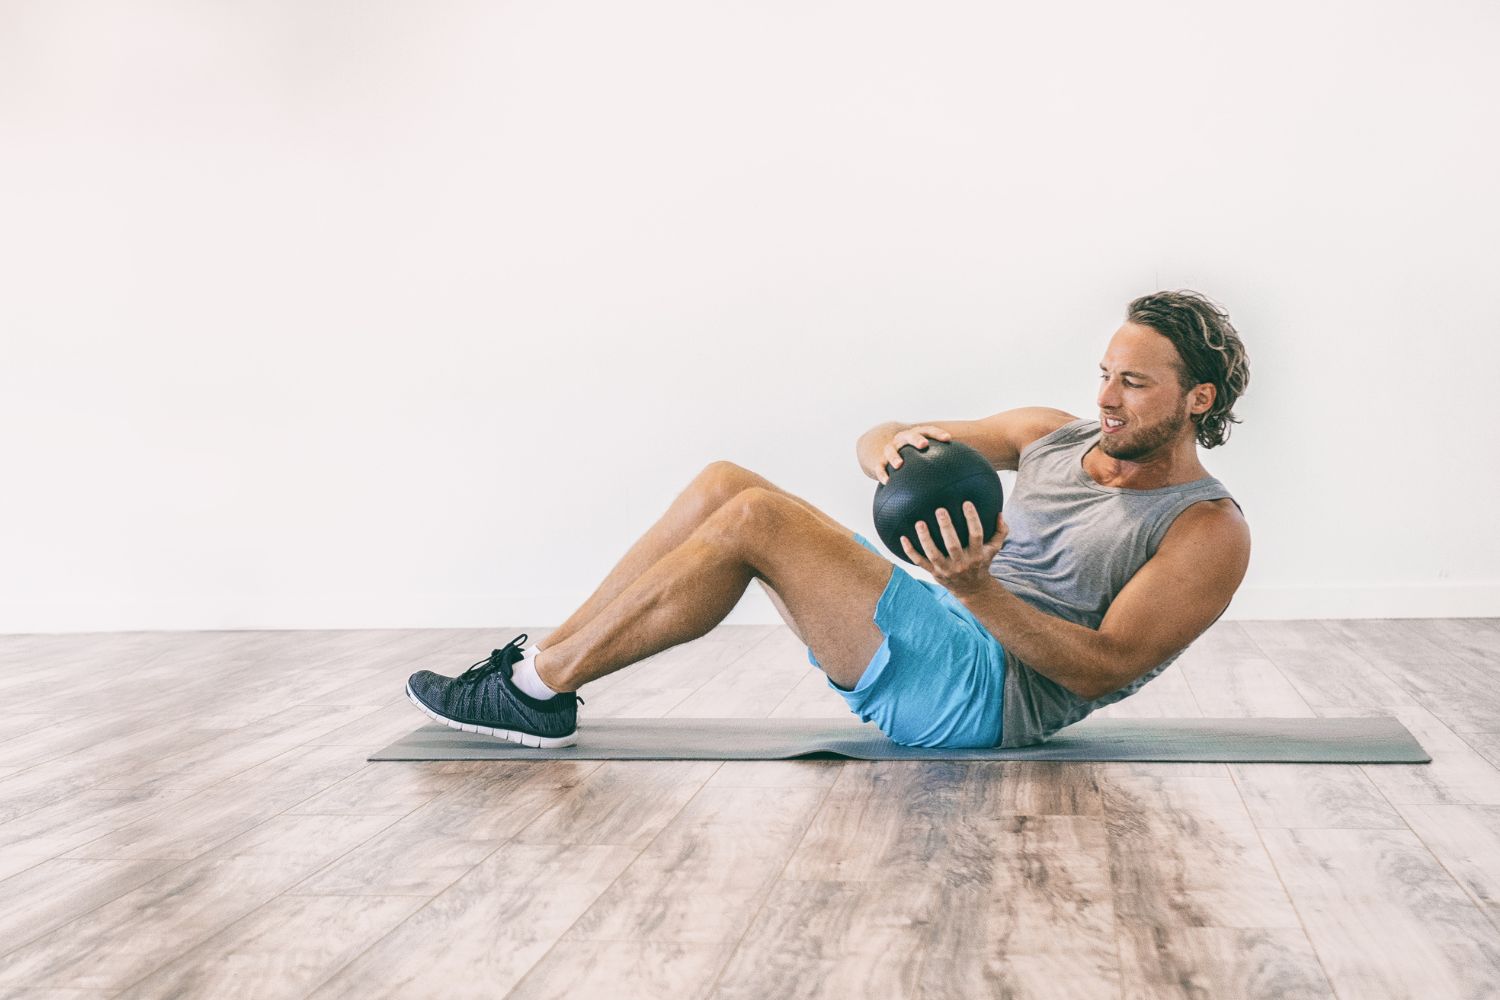
Russian Twists
- Sit on an exercise mat with your heels on the floor, knees bent, and arms behind your head with the elbows pointing outward.
- Engage your core and lean your torso back to create a V shape with your legs.
- Puff out your chest and shift your shoulders back and down. The back should stay straight throughout the exercise.
- Engage your core as you twist side to side.
- Breathe deeply. Exhale with each twist and inhale when returning to the centre to complete the repetition.
As you get accustomed to the exercise, lift your legs slightly off the floor for an extra challenge.
For even more of a challenge, you can hold a medicine ball to your chest.
Plank Taps
- Begin in a high plank position with your hands underneath your shoulders, legs stretched out behind you, and feet shoulder-width apart. Your body should form a straight line from your head through your shoulders, back, hips and legs.
- Shifting your weight to maintain your balance, lift one hand to touch your opposite arm at or just below your shoulder. Pause briefly, then return your hand to the mat.
- Switch to the other side, bringing your other hand up to tap the opposite arm, then return it to the mat. This completes one repetition.
- Concentrate on keeping your hips as still as possible. If you find yourself wobbling, spread your feet further apart.
Spider Mountain Climbers
- Start in a high plank position with your body in a straight line, your hands placed shoulder-width apart, and your feet hip-width apart.
- Activate your core muscles, keep your back neutral, and ensure your hands remain flat on the floor as you do this exercise.
- Lift your right leg up and to the side. As you do so, bend your knee and bring it toward your right elbow.
- Extend your right leg back and return to the starting position.
- Repeat on the left side.
Side Plank Variation
Remedial side plank with kick (for beginners)
- On a yoga mat, get into a side plank position with your supporting arm straight and your supporting knee touching the ground.
- Your body should be in a straight line from the knee to the head.
- Lift your top leg at hip height and kick it slowly to the front, without moving your upper body.
Full side plank with kick
- On a yoga mat, get into a high plank position.
- Turn your body and shift your weight until you’re in a side plank. Your body should be in a straight line from the ankles to the head. Do not allow your hips to sag.
- Lift your top leg at hip height and kick it slowly to the front without moving your upper body.
- Bring your leg back and repeat.
Plank Rows
- Grab a couple of dumbbells (2-5 kg, depending on your ability) and get on a yoga or exercise mat.
- Get into the high plank position with hands firmly gripping the dumbbell handles.
- Ensure your body forms a straight line from your ankles to your head.
- Raise one dumbbell off the mat by bending your elbow and pulling the dumbbell in toward your ribs.
- Pause briefly at the top of the motion before returning to the starting position.
- Concentrate on keeping your core active and your hips as still as possible.
Bridge with Leg Extension
- Begin lying face up on a yoga mat with your knees bent, feet hip-width apart, and your arms resting by your sides. Keep your spine neutral.
- Inhale and activate your core. Exhale and push your heels into the mat to lift your hips until you are resting on your upper back, creating a straight line from shoulder to knee. Ensure that your glutes initiate the movement. This is your starting position.
- While keeping your core engaged and hips elevated, straighten one of your legs and hold that position for 2-3 seconds. You should feel tension in your glutes and hamstrings as you do this.
- Put the leg back down and lift the other one.
Support your core workout
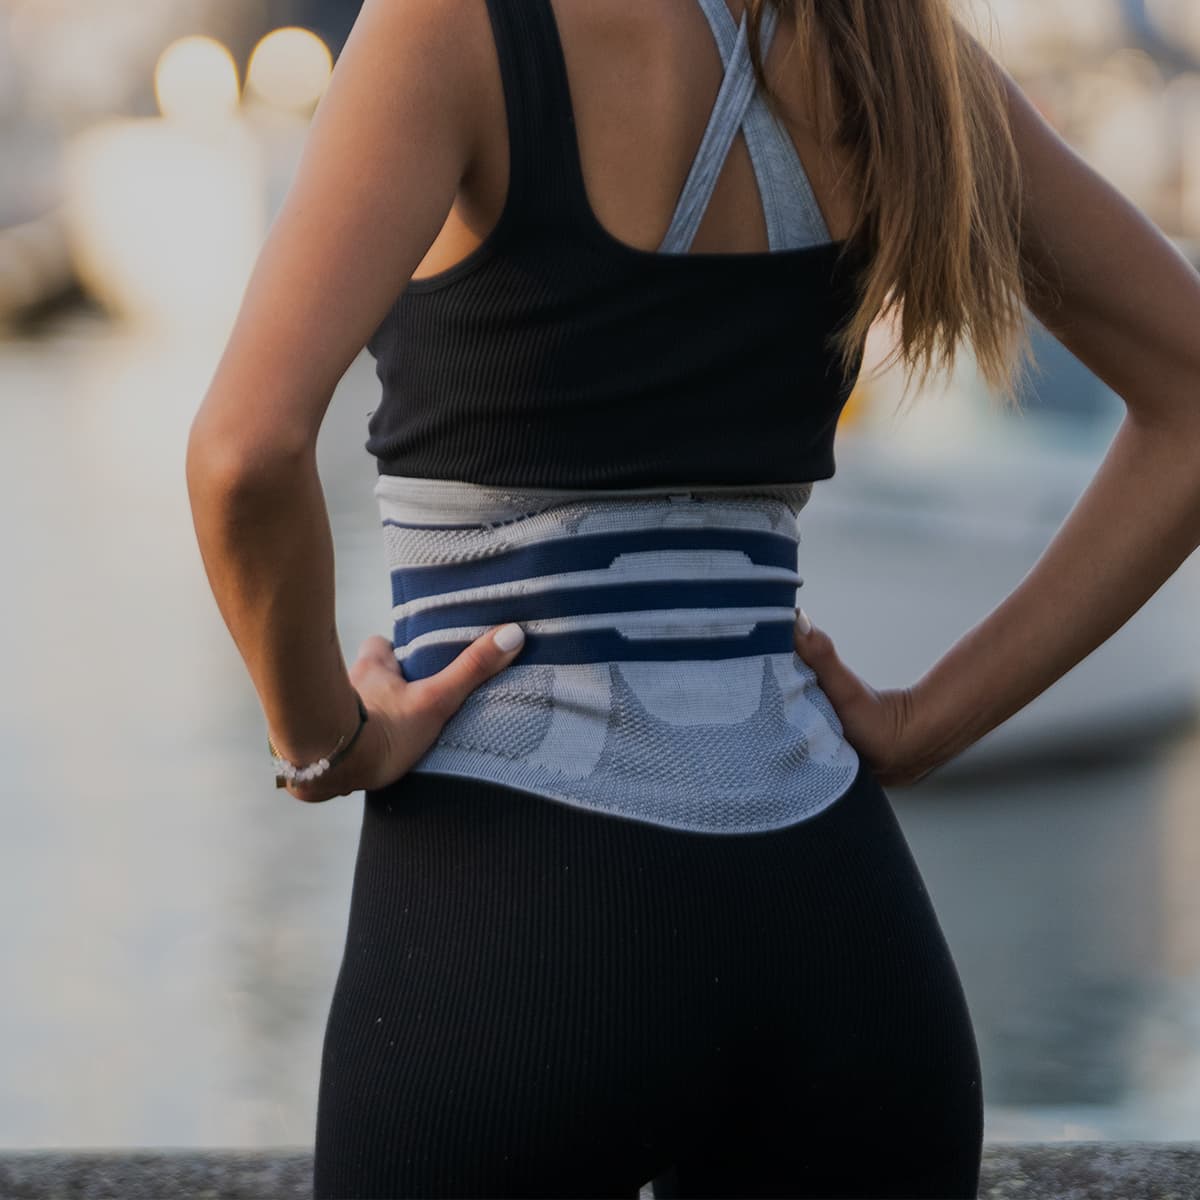
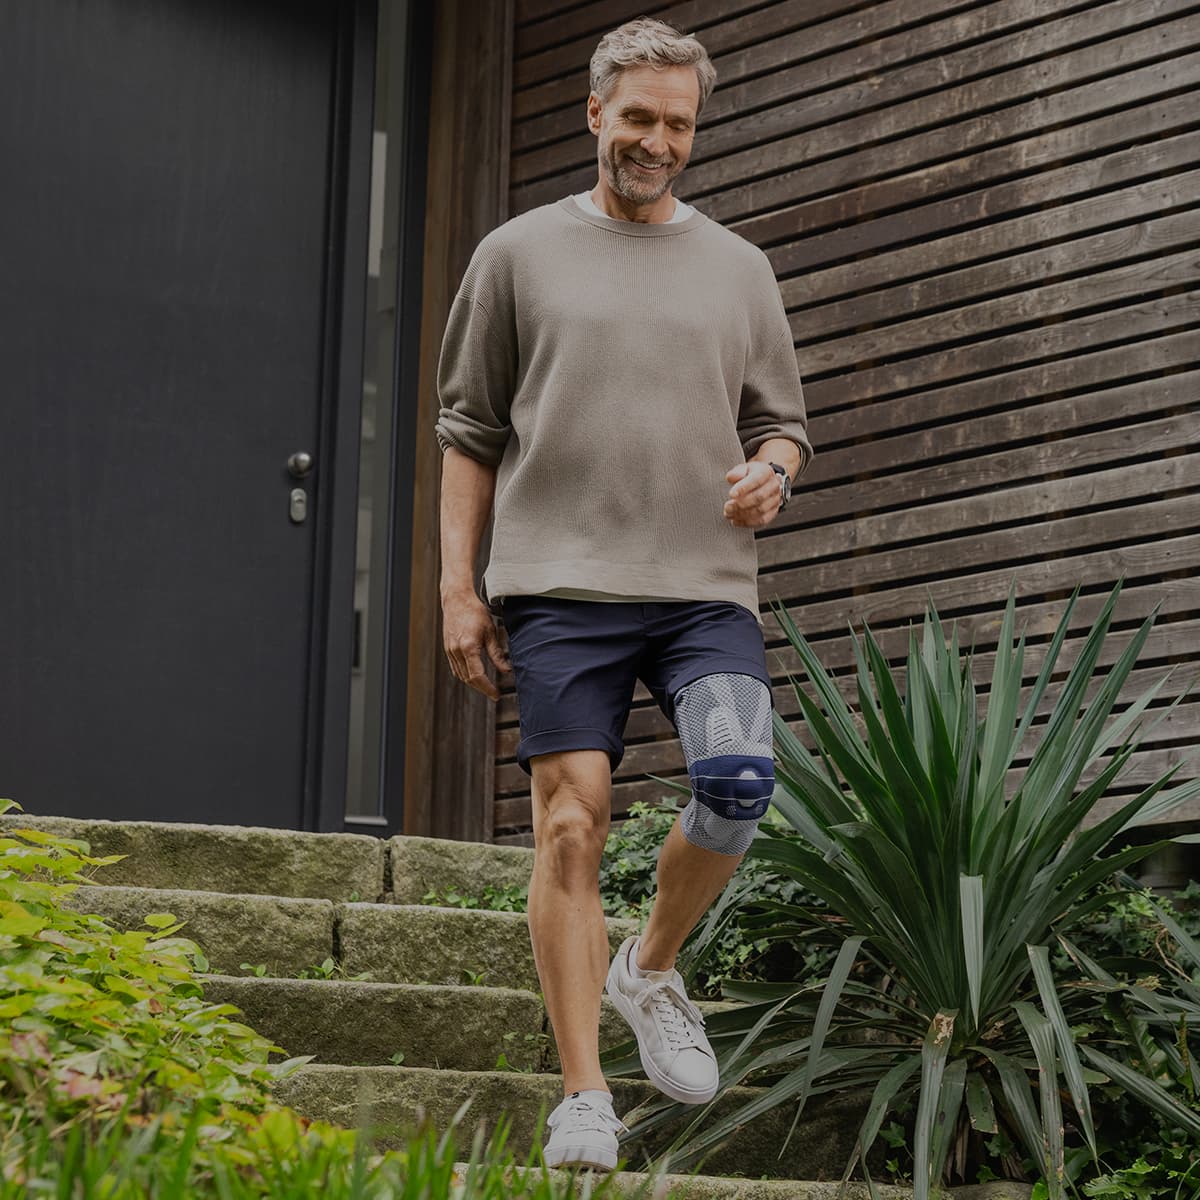
The Bauerfeind Sports Back Support can help stabilise your spine and activate your core as you go through your workout.
- Compression reduces the rate of muscle fatigue
- It improves your awareness of how you activate your core muscles
- And it helps protect the lumbar from harm
If you're recovering from pain or injury, try the LumboTrain Back Support.
More Information
This information is provided for general information purposes and should not be relied on as a substitute for medical advice, evaluation or care from a qualified and licensed healthcare provider. The information contained here should not be considered a plan of care or physical therapy.
If you require assistance selecting the right product for your needs or wearing the brace, call us on 098015660 or contact us via live chat.
Do you have private health? Most private health extras will cover Bauerfeind Products. Check to see if yours is included. Bauerfeind Private Health Insurance Inquiry.
Bauerfeind was founded in 1929, and since then, we've worked tirelessly to develop and improve our extensive range of award-winning braces, insoles, and compression products. Our mission is to provide you with top-of-the-line supports so you can reach your fitness goals or live life without pain holding you back.
Every product is designed and produced entirely in our innovation and manufacturing facilities in Germany with the guidance of doctors, clinics, and orthopaedic technicians and are trusted by athletes worldwide.

