Are you experiencing shoulder pain or recovering from a rotator cuff injury? Given that the shoulder is a highly mobile ball and socket joint, it’s unfortunately very common to experience pain from pinched nerves, overuse injuries, and muscle tension in that area. Try the following shoulder rehab exercises to improve your strength, mobility, and stability.
Why do rehab exercises
It may be tempting to keep your shoulder still when it hurts, but exercise is one of the best remedies for pain. It boosts circulation and endorphins to speed up healing and reduce the perception of pain. It also strengthens the shoulder muscles so they work to support and stabilise the joint better.
The best shoulder rehab exercises
Stability Ball Push-Ups
- Begin this exercise in the push-up position, with both hands firmly planted on the stability ball.
- Lower and raise your chest to and from the ball by bending and straightening the elbows.
- Maintain straight-line alignment from the ankles, knees, hips, and shoulders. Do not let your lower back sag or round.
- Perform both the upward and downward movements in a controlled fashion.
- Repeat for 8-12 reps in 3 sets, or as your ability allows.
For your safety, make sure you can do a few floor pushups before trying them with a stability ball.
Stability Ball Flys
- Grab some dumbbells appropriate to your strength level and an exercise ball that is about knee height or slightly above it.
- Sit on the ball and roll down until your body and upper legs are parallel to the floor. Your knees should be bent at about 90 degrees, and your feet should be flat on the ground, about shoulder-width apart.
- With your elbows slightly bent, raise your arms straight above your chest with the palms facing in. This is your starting position.
- Lower your arms out to your sides until you feel a slight stretch in your chest. At the bottom of the position, your palms should face upward.
- Lift your arms back into the starting position, engaging your pecs and core.
- Repeat for 10 reps in 3 sets or as your ability allows.
Plank Rows
- Grab a couple of dumbbells appropriate to your ability and get on a yoga or exercise mat. There should be enough space between the dumbbell bar and the floor for your hand to fit through comfortably.
- Get into the high pushup position with hands firmly gripping the dumbbell handles.
- Ensure your body forms a straight line from your ankles to your head. Tuck your pelvis in and activate your core. You can learn how to do so in our core workout blog: The Best Core Workout: Build Stability and Power.
- Raise one dumbbell off the mat by bending your elbow and pulling the dumbbell in toward your waist. If you have trouble maintaining balance, move your supporting arm closer to the centre of your chest, spread your feet further apart, and/or grab a lighter dumbbell.
- Pause briefly at the top of the motion and squeeze your shoulder blades together before returning to the starting position.
- Start with eight repetitions per arm in 2-3 sets and gradually work your way up.
If you’re doing this exercise after injury, get your physiotherapist’s go-ahead before adding it to your rehab routine. While it is great for shoulder strength, it is a physically demanding workout that damaged tissues may not be ready for, depending on how much they have healed.
Hand Step-Ups Split
- Begin this exercise in the push-up position with your hands on either side of an exercise step. For better balance, place your feet at or a little further than shoulder-width apart.
- Maintain a straight alignment between your ankles, knees, hips, and shoulders.
- Rise up onto the step with the right hand and follow with the left.
- Step down from the step in the same fashion.
- Perform the exercise at a reasonable, controlled pace.
- One up-and-down step of each hand counts as a single repetition.
- Relax and repeat 8-12 times for 2-3 sets or according to your clinician's recommendation.
Banded Internal Rotation
- Anchor a resistance band to a point that is waist-high.
- Stand up straight with your feet hip-width apart. The anchor point should be to your side, not in front or behind.
- Tuck your elbow close to your waist to prevent it from drifting outward. You can squeeze a rolled-up towel between your waist and elbow for better control.
- Grip the band and hold your elbow bent at 90 degrees with your palm facing inward. Slowly pull the band, rotating your arm until your palm almost touches your body.
- Slowly release the band tension by rotating your shoulder outward.
- Do this exercise with slow, controlled movements. Keep your core engaged and focus your attention on your rotator cuff.
- Start with 8 reps in 3 sets per shoulder. As you get stronger, increase the resistance or rep count.
90/90 Internal Shoulder Rotations
- Position yourself next to an elevated surface that is roughly chest-high (like a bookshelf), with your affected shoulder nearest to it.
- Secure a resistance band to the shelf. The resistance should be sufficient to challenge your muscles, but not so intense that you can’t comfortably complete 8 reps with good form.
- Begin with your arm extended to the side and your elbow bent at a right angle. Raise your forearm so it’s perpendicular to the shelf, ensuring your elbow remains in contact with it for support.
- While keeping your elbow in the same position, lower your forearm until it’s parallel to the shelf. Your wrist should stay locked in a neutral position throughout the exercise.
- Repeat this 8 times for 3 sets.
- Perform this exercise using slow, controlled movements.
Shoulder Abduction Workout
- Stand up straight, with one foot on the end of a resistance band, and hold the other in your hand.
- Slowly raise your arm out to the side until the wrist is slightly above the shoulders. Your arm should be slightly bent and your wrist straight.
- Pause briefly at the top of the motion, then slowly lower your arm back down to your side.
- Keep your spine neutral throughout the exercise.
- Complete 8-12 reps in 3 sets. 6
- If the exercise is too difficult or too easy, you can experiment with bands with higher or lower resistance. You can also increase or decrease the number of reps and sets you do.
Banded Shoulder Flexion: Strengthen the Rotator Cuff
- Stand on one end of the band with your foot. The foot should be on the same side as your affected shoulder.
- Grab the other end of the band with your affected hand and lift it straight in front of you, keeping your elbow straight and your thumb pointing upward. Avoid retracting your shoulder or letting it shift forward.
- Slowly lower your hand back to the starting position.
Support your shoulder rehabilitation routine
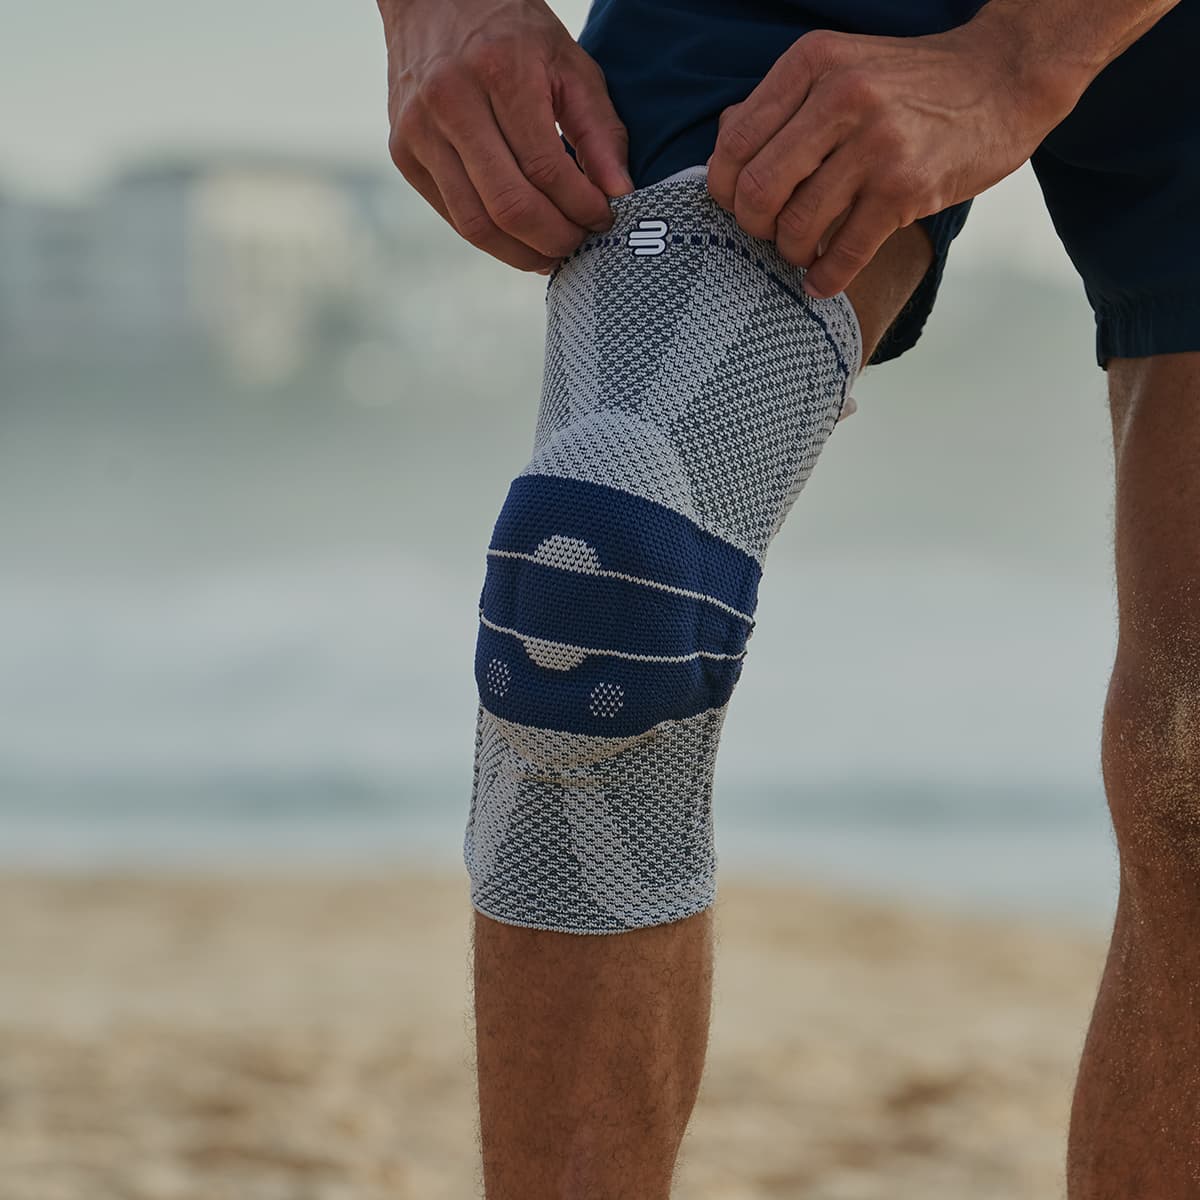
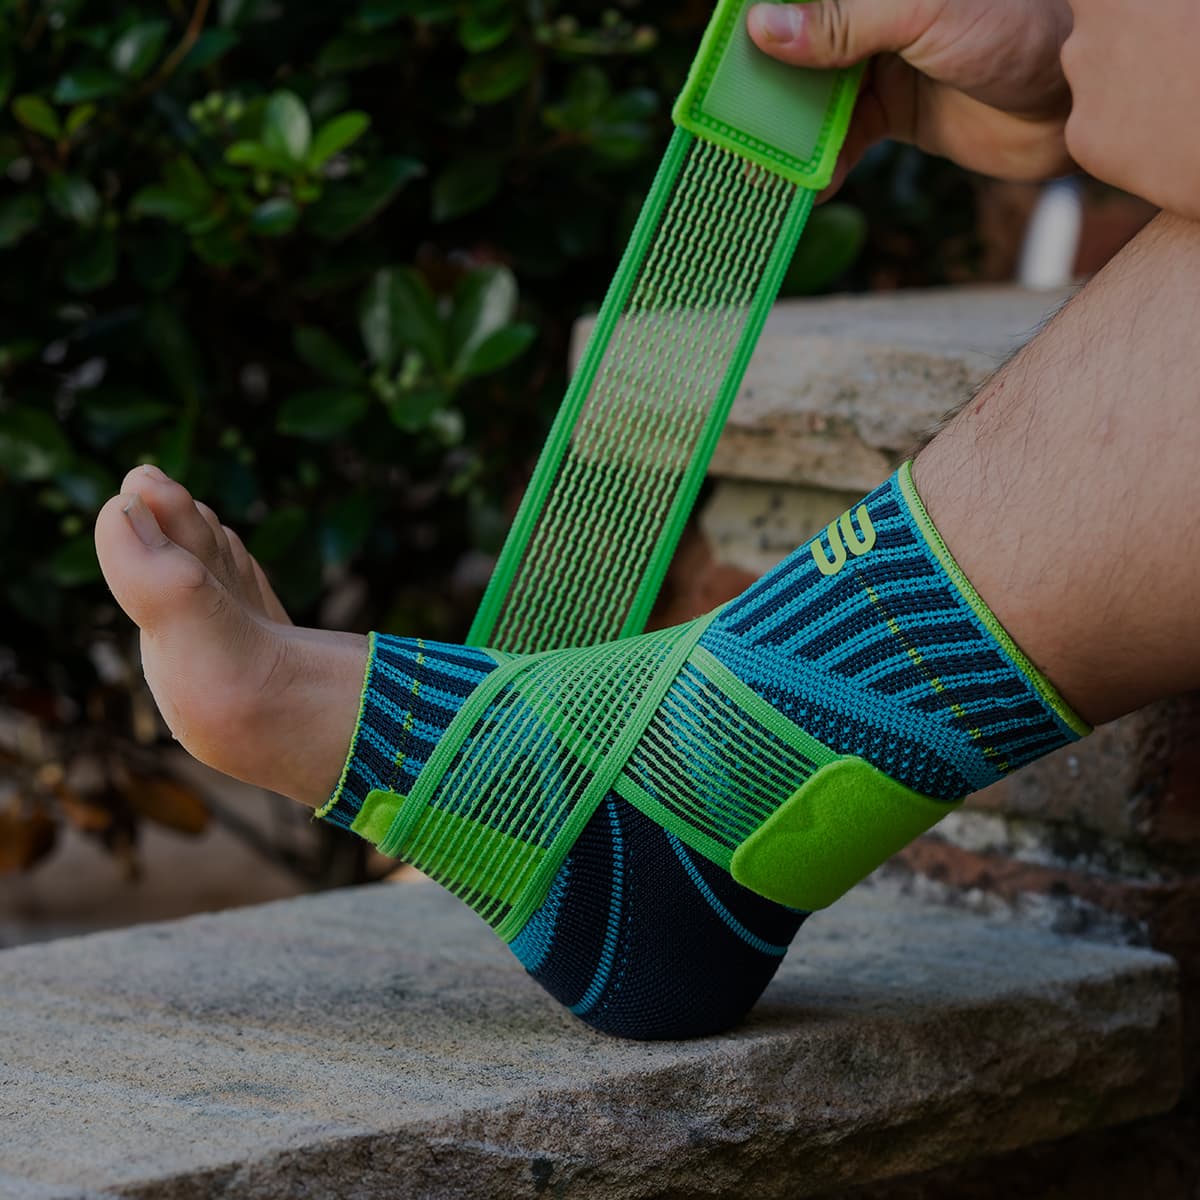
The OmoTrain and OmoTrain S Shoulder Braces' compression knit fabric and gel pad can be a great addition to your injury recovery plan. These components work together to stimulate the muscles and boost circulation, improving your exercise performance and helping you avoid shoulder injury (or re-injury). Boosted blood flow means better oxygen and nutrient delivery into muscle fibres. Muscle stimulation, meanwhile, improves the joint's stability, reducing the risk of further damage. Additionally, the pads massage away pain and tension, making movements more comfortable.
To sum up
Shoulder exercises are an essential part of injury recovery. Check with your physiotherapist to see which ones are safe for you, stay mindful of your pain levels when doing the exercises, and wear compression for greater support and stability.

